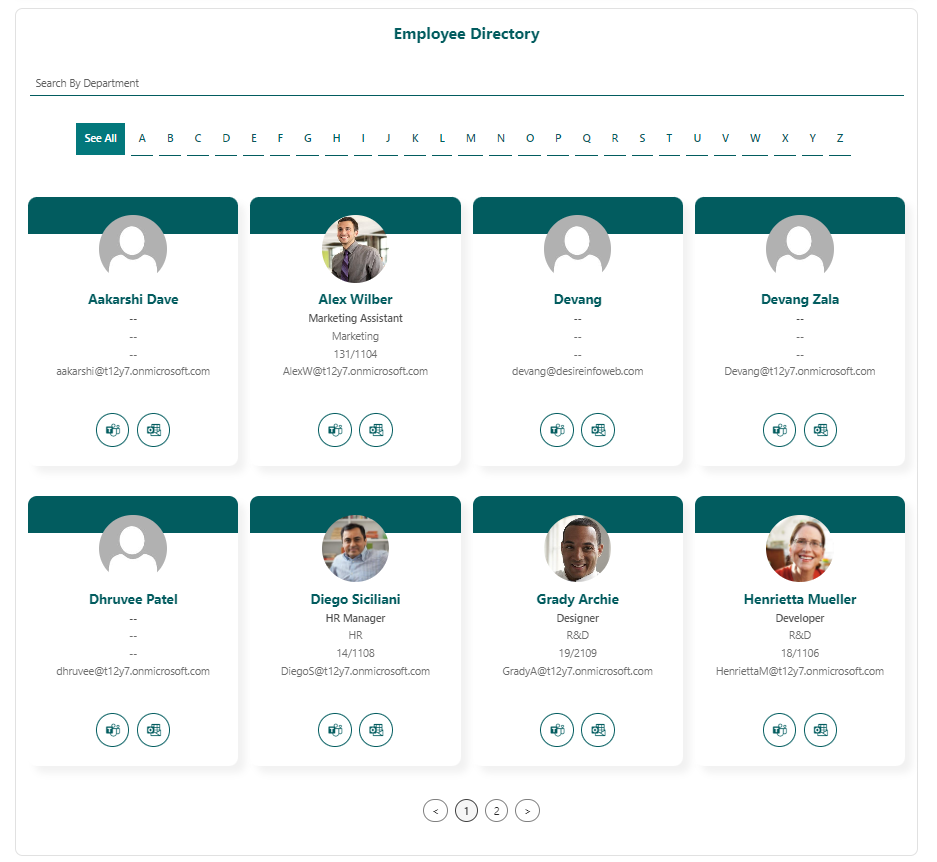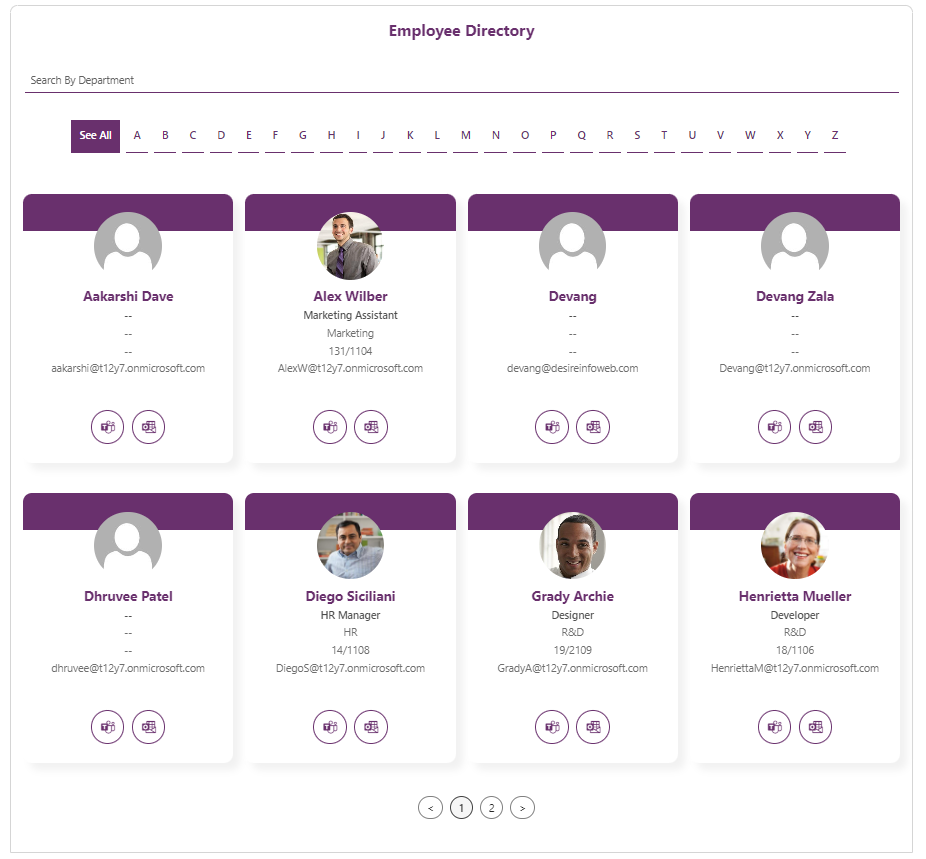


The search bar at the top of the Employee Directory web part allows you to search for employees by name or department. Simply enter the name or department you're looking for, and the web part will display matching results instantly.
You'll find an alphabet navigation feature. Click on a specific alphabet to filter and view employees whose names start with that letter.
Each employee is represented by a card that contains the following information:Employee Image,Name,Designation,Department,Employee Code,Phone Number,Location,Email
Direct Message (Teams): Clicking this button will open a direct message chat in Microsoft Teams with the selected employee.Send Email (Outlook): Clicking this button will open your default email client with the selected employee's email address pre-populated.
Choose the theme colour for your webpa0rt from the four available options. This allows you to match the webpart's appearance with your site's design.
In case of any help during webpart configuration process user can click on Help button this will open the user guide where each step is mentioned in detail.When user click on Help user guide will be opened.
1.Edit the Page Navigate to the SharePoint page where your web part is placed and enter edit mode by clicking on the "Edit" or "Edit Page" button, typically located in the upper-right corner of the page.
2.Select the Web Part Click on the web part you want to configure. When you click on it, you'll see the web part selected, and a toolbar may appear.
3.Open the Property Pane In the toolbar or next to the selected web part, you will usually find a pencil icon. Click on this icon to open the property pane for the web part.
4.Configure WebPart The property pane will appear on the right side of the page. Here, you can configure various settings and options for the selected web part. Modify the settings according to your requirements.
5.Webpart Theme Choose the theme colour for your webpart from the four available options. This allows you to match the webpart's appearance with your site's design.
We love working with new people and companies. Please take a moment to tell us about
your project.
Your messages will be responded to within one business day.
We are always available on call to assist you with any questions you may have.
We provide you with all technical consultations for your project.
You come to us with your project, and we do all of the planning and costing for you.
We assist you in scheduling appointments whenever you wish to meet us.